Members & Roles
Every project has a team of members, each assigned a role that controls what they can see and do. Roles are set per project — the same person can be an Editor on one project and a Viewer on another.
Organisation roles provide baseline access first: Org Owners inherit Owner access, Org Admins inherit Editor access, and Org Members inherit Viewer access across all organisation projects. A project-specific member row overrides that inherited role. People invited directly to a project without an organisation role are Project Guests and only see the projects they were invited to.
Roles
| Role | Typical use |
|---|---|
| Owner | The person who created the project. Full control including deletion and settings. |
| Editor | Core team members who need to add layers, manage scenarios, and invite others. |
| Contributor | Participants who add data and comments but cannot remove existing layers or manage scenarios. |
| Viewer | Stakeholders who need read-only access. Can still comment and vote. |
What each role can do
| Action | Owner | Editor | Contributor | Viewer |
|---|---|---|---|---|
| View project and layers | ✓ | ✓ | ✓ | ✓ |
| Place, reply, and vote on comments | ✓ | ✓ | ✓ | ✓ |
| Use measure tools | ✓ | ✓ | ✓ | ✓ |
| Import layers | ✓ | ✓ | ✓ | |
| Style layers | ✓ | ✓ | ✓ | |
| Draw and export data | ✓ | ✓ | ✓ | |
| Create scenarios | ✓ | ✓ | ✓ | |
| Remove layers | ✓ | ✓ | ||
| Update or delete scenarios | ✓ | ✓ | ||
| Resolve or delete comments | ✓ | ✓ | ||
| Invite members | ✓ | ✓ | ||
| Edit project name / description | ✓ | ✓ | ||
| Project settings | ✓ | |||
| Delete project | ✓ |
Organisation Owners and Admins automatically have elevated access across all projects in the organisation — see Organisations. Organisation Members automatically have Viewer access to all organisation projects. Invite them to an individual project only when they need a higher role on that project.
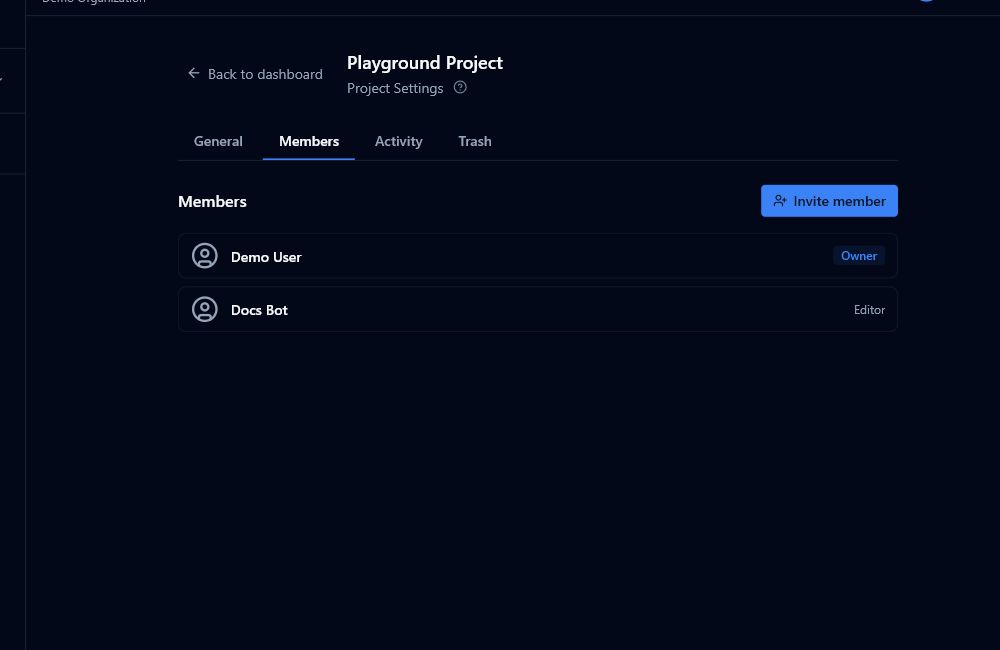
Inviting a member
- Go to Project Settings → Members.
- Click Invite Member.
- Enter the person's email address.
- Select a role (Editor, Contributor, or Viewer — you cannot invite someone as Owner).
- Click Invite.
An invitation is sent to that email address. It expires after 7 days. When the person next logs in, the invitation is accepted automatically and they appear in the member list.
You cannot send a second invite to the same email address while a pending invite is still active. If the person should access only this project, invite them here as a Project Guest instead of adding them to the organisation.
Managing existing members
In Project Settings → Members, each active member row shows their name, role, and (for non-owners) a role dropdown.
Use the row checkboxes to select multiple members. The batch toolbar lets you change the selected members' project role or remove them together. Batch actions are best-effort: valid rows are applied, and rows that cannot be changed are reported separately.
Changing a role
Click the role dropdown next to a member and select a new role. The change takes effect immediately.
- Only Owners and Editors can change roles.
- You cannot change the project Owner's role. Ownership transfer is not currently supported.
Removing a member
Click the remove icon next to a member and confirm when prompted. The member loses access immediately.
- You cannot remove the project Owner.
- You cannot remove yourself if you are the Owner.
Cancelling a pending invite
In the Pending section, click the cancel icon next to an invite to revoke it before it is accepted.
You can also select multiple pending invites and use Resend selected or Cancel selected. Resending refreshes the invite token and expiry. Pending invite roles cannot be batch-edited; cancel and reinvite if the role is wrong.
Editor access requests
Viewers can request editor access from the project card in the dashboard. This is useful when a stakeholder was invited read-only but later needs to add layers, edit scenarios, or manage project content.
Project Owners and Editors see pending requests in Project Settings -> Members. Each request shows the requester, job title when available, and optional message.
To resolve a request:
- Open Project Settings -> Members.
- Review the Access requests section.
- Click Approve to promote the requester to Editor, or Deny to leave their access unchanged.
The requester receives a notification when the request is approved or declined.