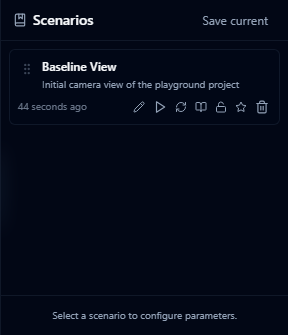
Scenarios
Scenarios let you capture a named snapshot of your map state — which layers are visible, how they are styled, and where the camera is positioned. You can switch between scenarios instantly to compare alternative plans.
Creating a scenario
-
Open the Scenarios panel (left toolbar → scenarios icon).
-
Click Save current.

-
Enter a name and optional description.
-
The current layer state is saved automatically.
Switching scenarios
Click any scenario in the list to restore its layer state. All layer visibility, ordering, and style changes made in other scenarios are preserved independently.
Restoring a scenario

If you have made changes and want to revert to a scenario's saved state, click the Restore button (↩) next to the scenario name.
Comments are not scenario-specific — they are visible across all scenarios in a project.
Use cases
- Before / After — one scenario with the current state, one with proposed changes
- Option A / Option B / Option C — compare multiple design alternatives
- Time phases — separate scenarios for construction phases or planning horizons