Terrain Layers
Terrain layers replace the default world terrain with a custom elevation model for the area they cover. They are imported as GeoTIFF files — see GeoTIFF (Raster & Terrain) for how to upload one.
This page describes how terrain layers behave in the Layers panel after import.
Single-active model
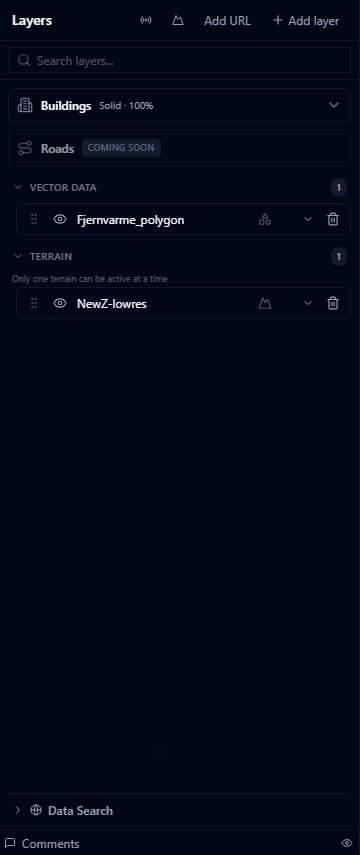
Only one terrain layer can be active at a time. Activating a terrain layer automatically deactivates any other terrain layer that was previously active.
A hint below the Terrain category header reads "Only one terrain can be active at a time" as a reminder.
How activation works:
- Use the eye icon on a terrain layer row to toggle it on or off — the same control used for all other layer types.
- Turning a terrain layer on while another is already active immediately turns the other one off. A notification briefly confirms which layer was deactivated.
- Turning the only active terrain layer off restores the default Cesium World Terrain for the globe.
There is no separate "Set as active" button. Visibility and activity are the same thing for terrain layers: a visible terrain layer is the active terrain layer.
Opacity
The opacity slider is not shown for terrain layers. CesiumJS applies terrain as the ground surface itself, so transparency is not a meaningful setting. Other layer types (imagery, vector data) that sit above the terrain surface do support opacity.
Zoom to layer
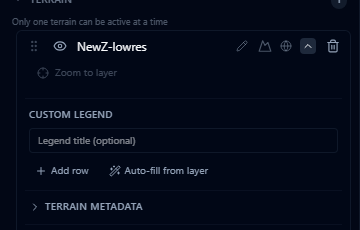
Click Zoom to in the expanded layer options to fly the camera to the geographic extent of the terrain. The camera frames the bounding box of the terrain dataset.
Zoom to is currently disabled for terrain layers. Use this control on other layer types to navigate to a geographic extent in the meantime.
Terrain metadata

Expand a terrain layer row and scroll down to find the Terrain Metadata section. It is collapsed by default — click the section header to open it.
The metadata section displays technical information written at import time:
| Field | Description |
|---|---|
| Bounds | Geographic bounding box of the terrain (west, south, east, north in decimal degrees) |
| Min Elevation | Lowest elevation value in the dataset, in metres |
| Max Elevation | Highest elevation value in the dataset, in metres |
| Zoom Levels | Tile pyramid range (minimum and maximum zoom levels) |
| Tiles | Total number of terrain tiles generated during conversion |
| Projection | Source coordinate reference system of the original file |
This information is read-only and cannot be edited.
Bounds is populated for all terrain layers. Min Elevation, Max Elevation, Zoom Levels, Tiles, and Projection currently show placeholder values (0 or -) for terrain layers imported from GeoTIFF — these fields populate correctly only on terrain produced by the legacy tiled conversion pipeline.
Scenarios
Terrain layer visibility is captured in scenario snapshots like any other layer. If you activate a terrain layer in one scenario and leave it off in another, each scenario will independently restore the correct terrain on switch.
The active terrain is derived from whichever terrain layer is marked as visible in the scenario — there is no separate stored "active terrain ID". If you delete the visible terrain layer, the scenario will fall back to world terrain on next restore.
Terrain vs. the Terrain panel
Terrain layers in the Layers panel are different from the Terrain environment panel controls:
- Terrain layers — custom elevation models that replace the globe surface geometry in a specific area.
- Terrain & Environment Panel — global visual controls for elevation shading, contour lines, vertical exaggeration, and imagery brightness. These settings apply on top of whichever terrain (default or custom) is currently active.
Both can be used together. For example, you can activate a custom terrain layer and then apply slope shading in the Terrain panel to highlight steep areas.