Export
Export your current view as a screenshot, PDF report, or video recording.
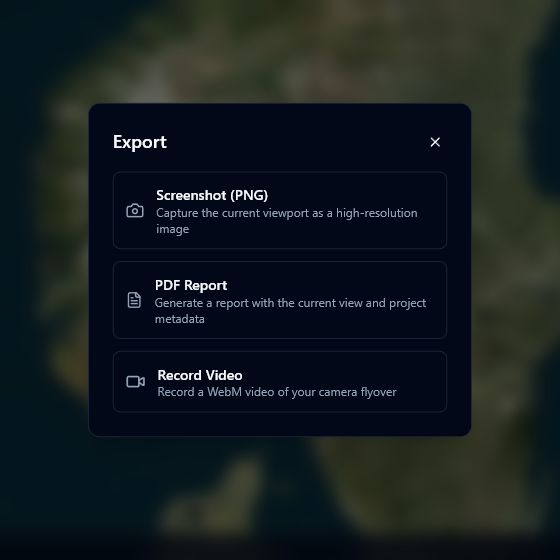
Opening the export dialog
Click the more options button (three dots icon, ...) in the top-right toolbar, then select Export from the menu.
Screenshot (PNG)
Captures the current 3D viewport as a PNG image. The dialog closes and the file downloads immediately. The filename includes your project name and a timestamp, for example city-centre-2026-03-30T14-05-00.png.
PDF Report
Generates an A4 PDF containing the current viewport image and the generation date.
Click PDF Report. The button shows a generating state while the document is prepared, then the file downloads automatically as report-YYYY-MM-DD.pdf.
PDF generation may take a few seconds for complex scenes. If an error occurs, a message is shown below the button.
Video Recording
Record a WebM video of your camera flyover:
- Click Record Video — recording starts immediately and the dialog closes.
- Navigate the 3D scene freely. A red recording banner appears at the top-centre of the screen.
- Click Stop Recording in the banner when finished.
- The WebM file downloads automatically. The filename includes your project name and a timestamp, for example
city-centre-flyover-2026-03-30T14-05-00.webm.
The video is recorded at 30 frames per second using the VP9 codec where your browser supports it, falling back to standard WebM.
Video recording requires browser support for MediaRecorder and canvas capture. The Record Video button is disabled in browsers that do not support these APIs (such as Safari on older versions). Performance depends on your hardware and scene complexity.